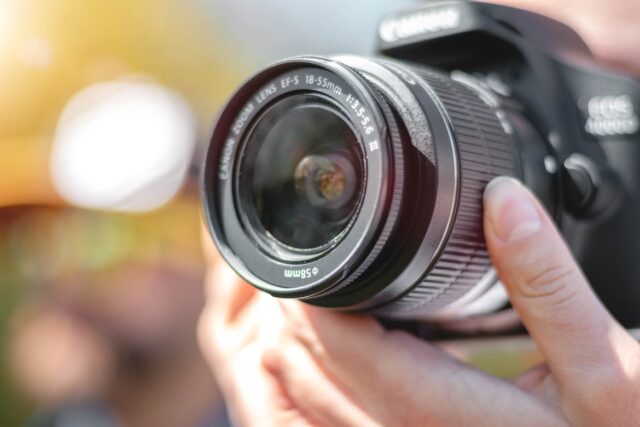
Strong photography abilities may be incredibly valuable for designers and artists, whether your passion is professional or you just truly enjoy taking photographs for thrills. Let us just say you have invested in one of the best cameras for photography – what’s next? Well, these 10 essential tips will show you how to improve and master your photography skills.
1. The Basic: Rule of Thirds
This rule is amongst the most powerful photography rules to allow you to capture eye-catching photos. This Rule of Thirds is indeed the compositional key you must use if you would like to take photographs that have a “wonder” factor packed within! Visualize four lines, two horizontally throughout the picture and two vertically across the picture, making nine equal squares using the rule of thirds.
Some photographs fit perfectly with the focus point inside the square at the center, but off-centering the subject from one of the virtual line’s intersection points, sometimes results in a more attractively arranged snap. For more information, you can click here.
2. Try To Avoid Shaking The Camera
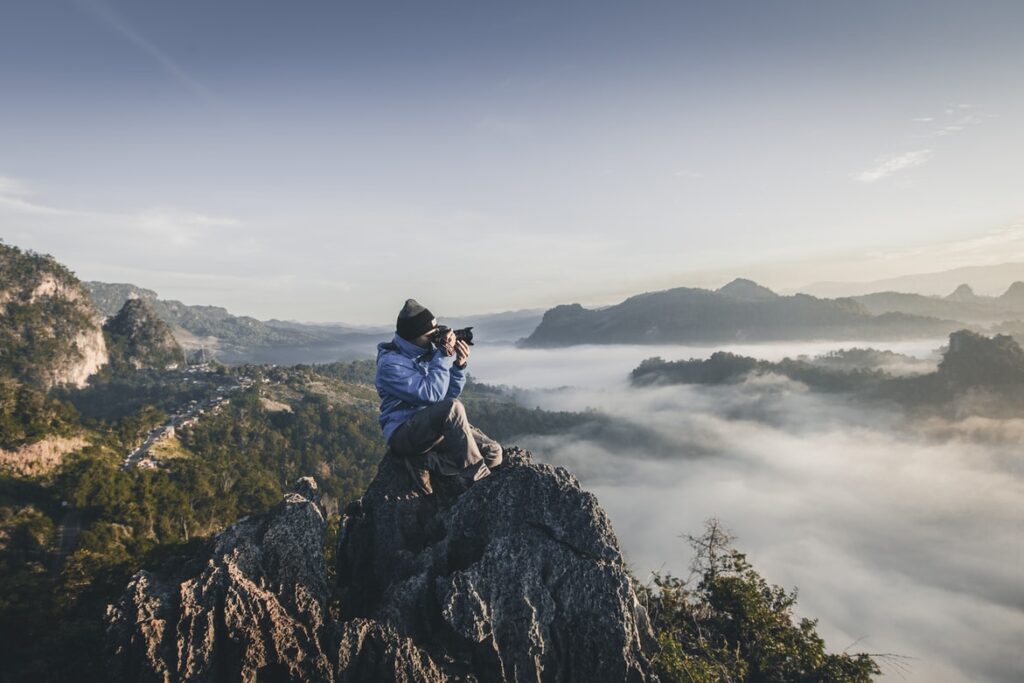
Any shooter can be plagued by camera wobble or blur, and there are a few techniques to prevent it.
To begin, understand how to properly hold the camera; use your hands, one across the camera body while the other around the lens, and keep the camera tight to you for better stability.
If the shutter speed seems to be too slow, any unintended camera movement will cause the entire shot to become distorted and blurred.
3. Understand The Triangle of Exposure
Mastering the three fundamentals of Aperture, Shutter Speed, and ISO can help your images look their best.
You should also be aware of the connections between the three controls. To achieve the intended effects, you must usually start to consider one of the others when adjusting one of them.
Enabling Auto Mode takes good care of all these controls, but at the cost of your images not turning out the way you expected them to, which is often disappointing.
4. Employ The Use of A Polarizing Filter

If you only have the money to buy one lens filter, make it a polarizing one. Circular polarizers are suggested because they allow your camera to employ TTL (through the lens) measuring for features like auto exposure.
This filter reduces reflections from water, metal, and glass, enhances the hues of the landscape and greenery, and helps to give your images the WOW factor. It will accomplish all of this while also safeguarding your lens. There is really no reason why you shouldn’t use it for all of your photos.
5. Implement A Sense of Depth
It helps to generate a sense of depth while photographing panoramas, or to make the spectator feel as though they are there. To maintain the foreground as well as background sharpness, use a wide-angle lens with a modest aperture of f/16 or smaller.
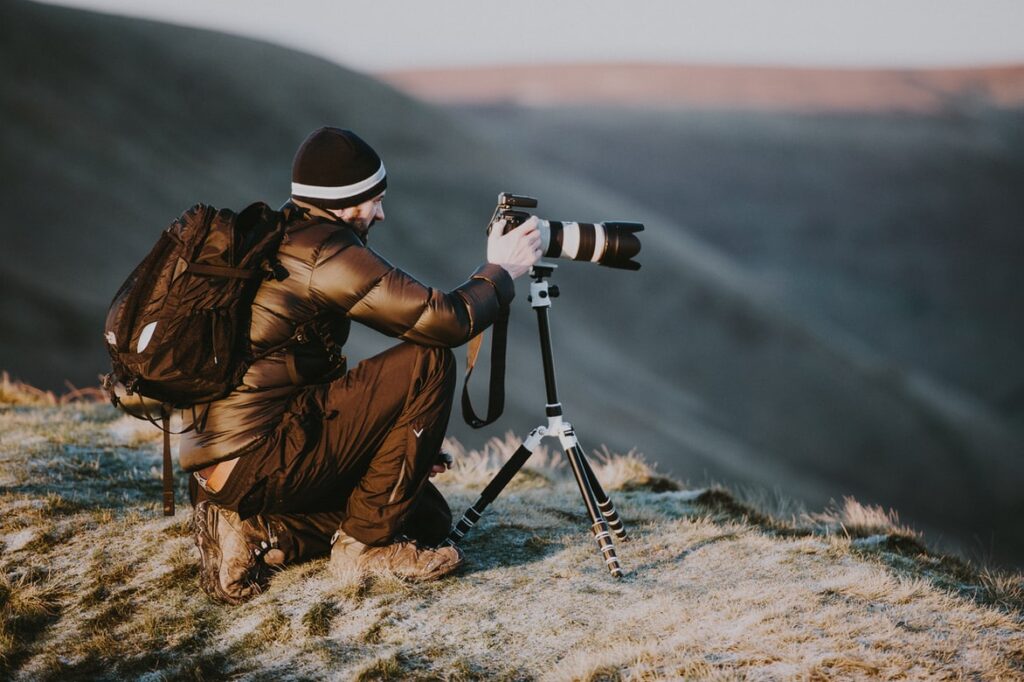
Positioning an entity or a person in the foreground brings a sense of scale that highlights the distance. If feasible, use a tripod because a tiny aperture necessitates a slightly slower speed.
6. Make Use of Plain Backgrounds
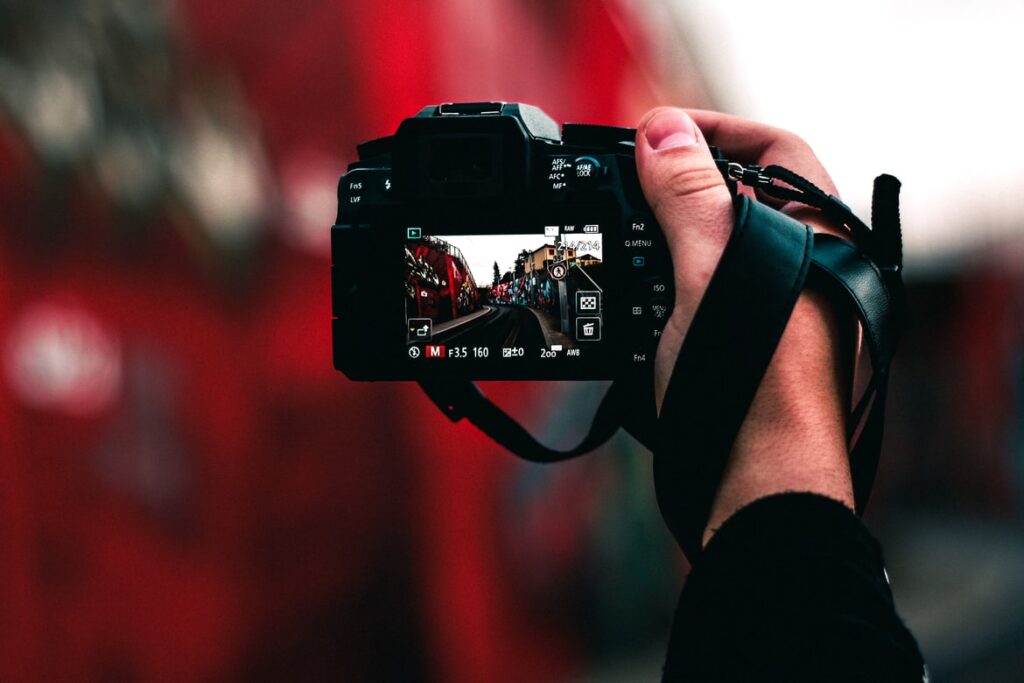
In digital photography, the simplistic method is generally the best, and you must pick what ought to be in the frame while excluding everything that is a disturbance. If at all possible, go for a simple background with neutral colors and uncomplicated designs.
Instead of being drawn to a spot of color or perhaps an odd architecture in the background, you just want attention to be pulled to the image’s point of focus. This is especially important when the subject is off-center in the shot.
7. Avoid Using Indoor Flash
In particular for interior portraits, flash can appear harsh and artificial. As a result, there are a variety of ways to shoot a photograph indoors without using a flash. Firstly, increasing the ISO – ISO 800 to 1600 will typically make a significant difference in the shutter speed you could use.
Use the largest aperture possible; more lighting will meet the sensor, and the backdrop will be nicely blurred. Avoiding blur with a tripod or perhaps an I.S. (Image Stabilization) lens is indeed a good idea. If you really want to use flash, use the one with a rotating head and position the light at an elevation to the ceiling.
8. Select The Correct ISO
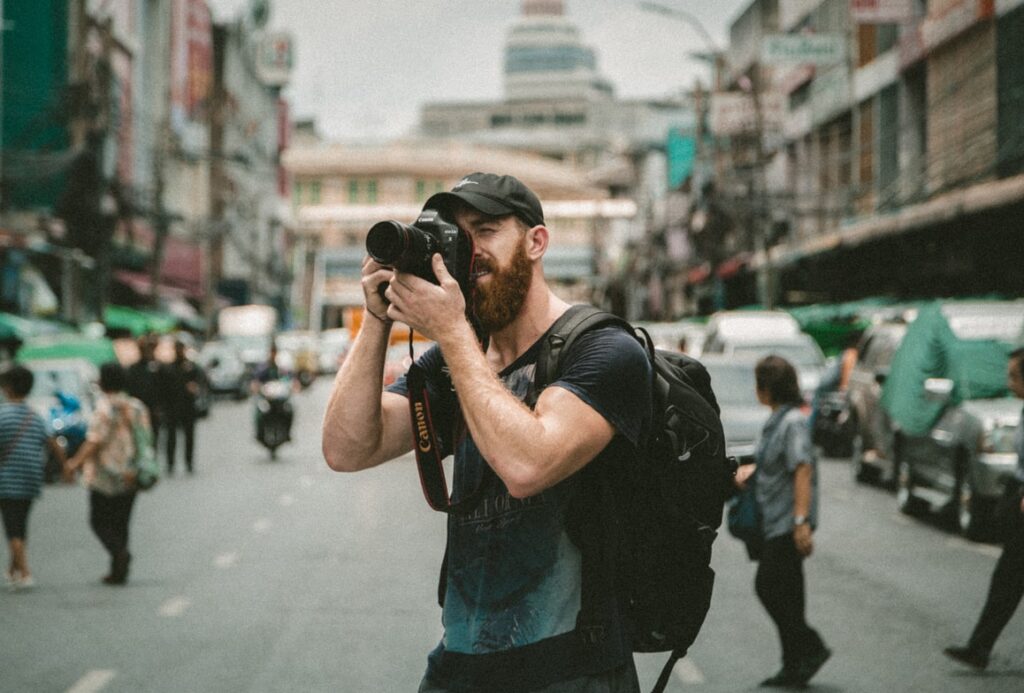
The ISO setting controls how light responsive your camera is as well as the fineness of your image grain. When shooting in low light, you need to increase the ISO to a higher number, such as 400–3200, to enable the camera to be more sensitive towards light and minimize any occurrences of distortion or blurriness. It is recommended to use ISO 100 or the Auto option on sunny days because you will have more light to deal with.
9. Create Motion By Panning
Panning is a method that can be used to capture a moving subject. To do so, select a shutter speed two steps shorter than necessary — for example, instead of 1/250, we’d go with 1/60.
Set the camera on the entity or your subject and press the shutter halfway down to fix the focus. When you’re prepared, take the photo, keeping in mind to watch them as they move.
If possible, use a tripod or maybe a monopod to reduce camera wobble and get crisp flowing lines.
10. Play With The Shutter Speed
Don’t be scared to experiment with shutter speed to achieve unique effects. Use a tripod and capture pictures with a shutter speed of 4 seconds if you’re capturing a nighttime shot. You’ll notice that the subject’s movements are captured, as well as some light trails.
If you use a faster shutter speed, such as 1/250th of a second, the traces will be shorter and less dazzling; instead, the motion will be frozen.
Other settings with objects moving or backdrops, such as waves on a shoreline, swarms of people walking, or cars commuting, can be taken with varying shutter speeds to catch either blurred movement or pictures that freeze everything clearly in time.
Final Words
Finding new methods to incorporate various photography tips and methods into typical configurations is one of the most enjoyable aspects of mastering your photography skills. You may enrich regular subjects and transform ordinary possibilities into unique and innovative photographs that just really shine out by following the tips we outlined above!


