
The Micro:bit, a tiny programmable computer, is revolutionizing how we introduce technology and coding to the next generation. Its simplicity, combined with its powerful features, makes it an ideal tool for beginners in the world of coding and electronics. Here’s a guide to get you started on your journey with this tiny programmable computer.
What is Micro:bit?
Micro:bit is a pocket-sized computer designed by the BBC for educational purposes. It’s aimed at making learning and teaching easy and fun. The device is equipped with various features including an LED light display, buttons, sensors, and input/output rings. It’s not just a learning tool but a gateway to creativity, allowing users to build everything from games to robots. Learn more at ELECFREAKS.
The Physical Layout of the Micro:bit
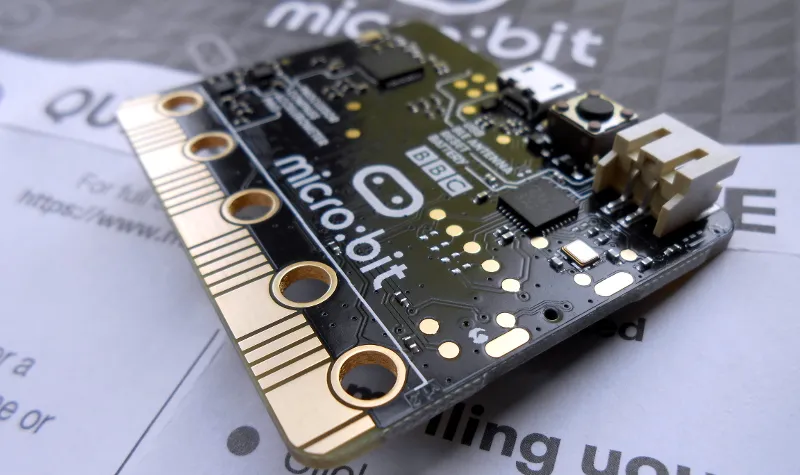
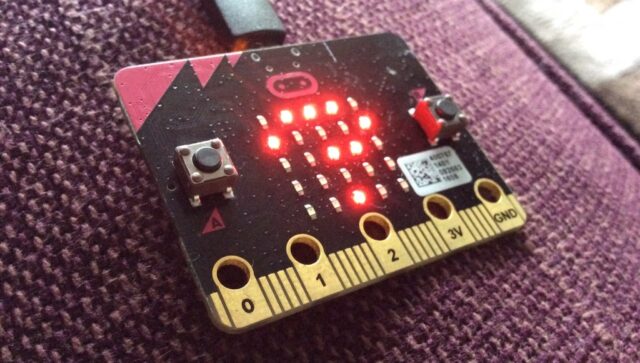
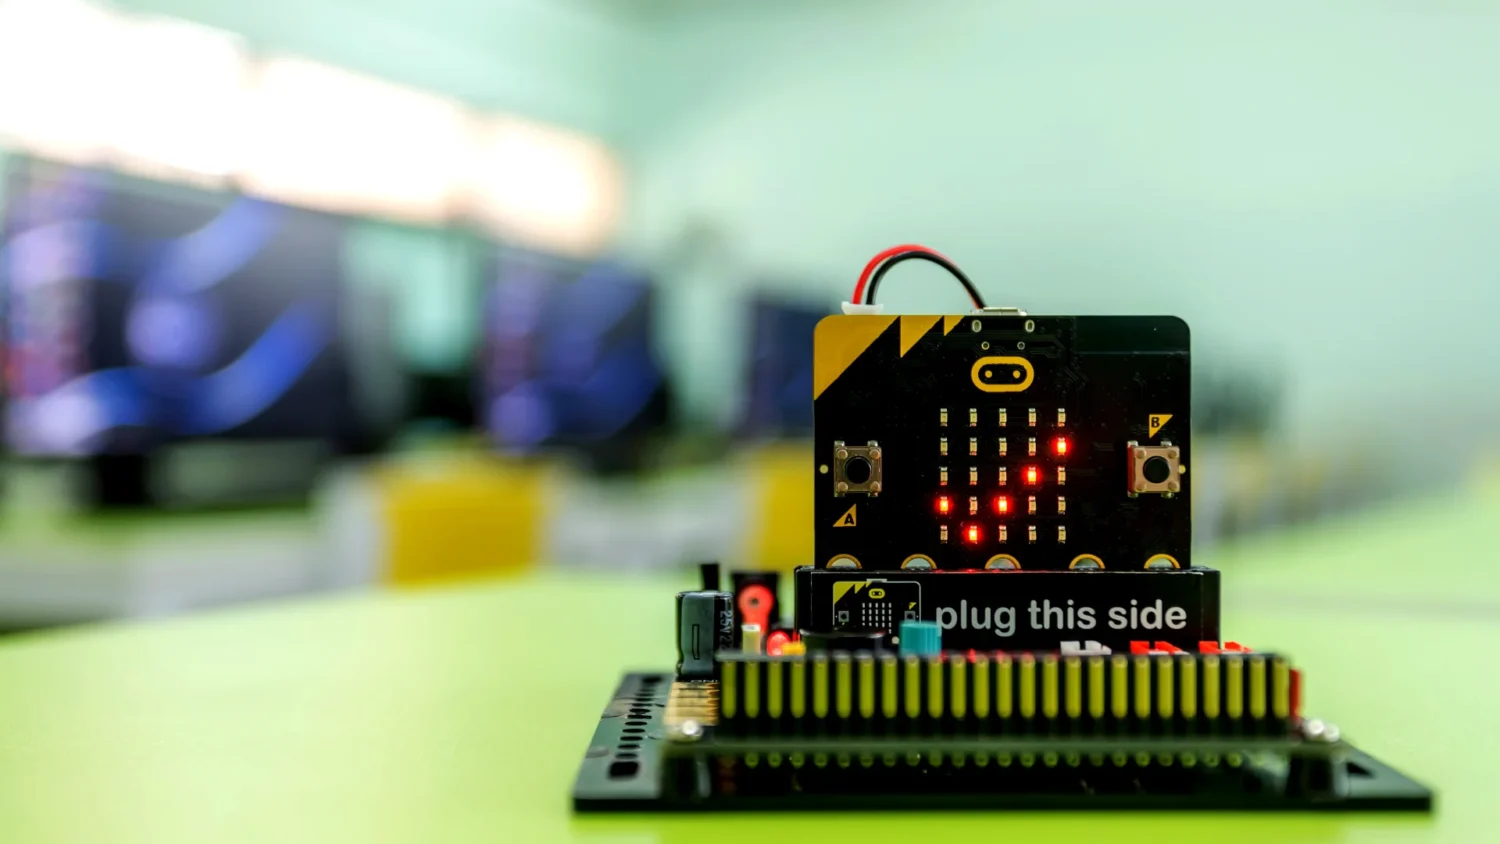
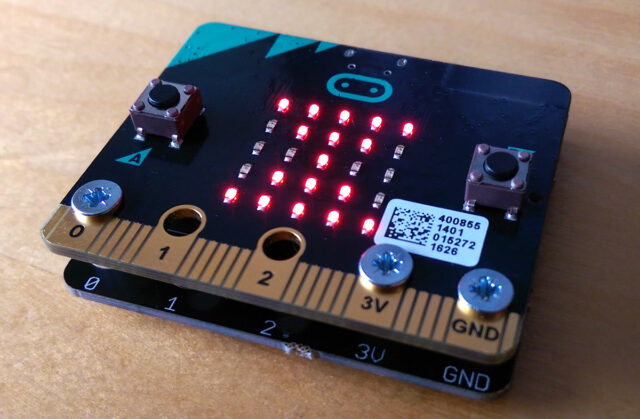
Understanding the physical layout of the Micro:bit is crucial. The front side features 25 red LEDs that can light up to display messages or patterns. Below these LEDs are two programmable buttons that interact with your code. Flip this device over, and you’ll find the brains of the board: a microprocessor, an accelerometer, a magnetometer, Bluetooth and USB connectivity, and input/output rings to connect external devices.
Setting Up Your Micro:bit
Getting your Micro:bit up and running is straightforward. First, connect it to a computer using a micro USB cable. Your computer will recognize it as a removable drive. Visit the Micro:bit website to access the online editor, where you’ll write and transfer your programs to the Micro:bit.
The Micro:bit Software
This device can be programmed using various programming languages, but the most common are the MakeCode editor and Python. The MakeCode editor is a block-based programming environment, perfect for beginners. Python, on the other hand, is a text-based language, suitable for those looking to advance their skills.
Creating Your First Program
Creating your first program with the Micro:bit is an exciting step. In the MakeCode editor, you can drag and drop blocks to form your code. A simple program could be making the LEDs display a smiley face. This hands-on approach makes understanding coding concepts like loops and conditions easy and fun.
Exploring Sensors and Inputs
This device comes with various built-in sensors and input features. For instance, the accelerometer detects movement, which can be used to create interactive games. The magnetometer acts as a compass. Experimenting with these sensors not only enhances your programming skills but also opens up a world of creative possibilities.
Connecting External Components
One of the Micro:bit’s strengths is its ability to connect with external components like motors, speakers, and sensors. Using crocodile clips or a breakout board, you can expand the capabilities of your Micro:bit. This ability transforms this device from a simple learning tool to a powerful creator’s instrument.
Conclusion
The Micro:bit is a dynamic and versatile tool, perfect for those starting their journey in coding and electronics. Its simplicity masks its potential to unlock creativity and innovation. Whether in a classroom setting or as a hobby, the Micro:bit offers an engaging and hands-on approach to learning and exploring technology.


