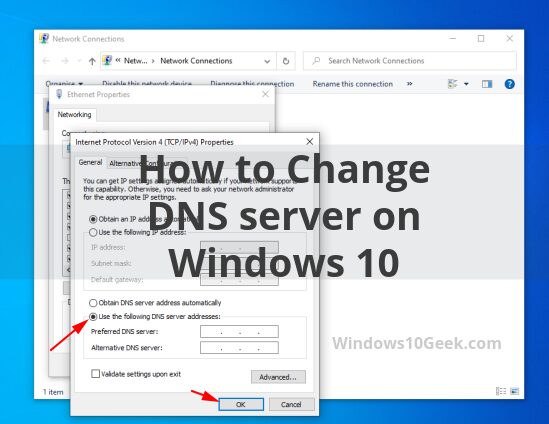
In this tutorial, you will learn how to change the dns server on Windows 10. Windows 10 settings are a bit messy, so this tutorial will make it easy for you.
Step 1 – Open run box
To open run box, you need to press windows button and R, then write the command “ncpa.cpl” to go directly to Internet settings.

Step 2 – Right click to the Ethernet >>Properties
On the window ” Network Connections”, you will need to right click to the Ethernet device and then go to properties.

Step 3 – Set Dns Server
After clicking properties on the ethernet device, a window will pop up same as the image below, now you need to double click to “Internet Protocol Version 4 (TCP/IPv4”

Next, simply check the box “Use the following DNS server addresses”, and type the dns server you want and click OK.

Just an example of using Google’s DNS.

Conclusion
By now you should know how to change the dns server on Windows 10 via 3 easy steps.


