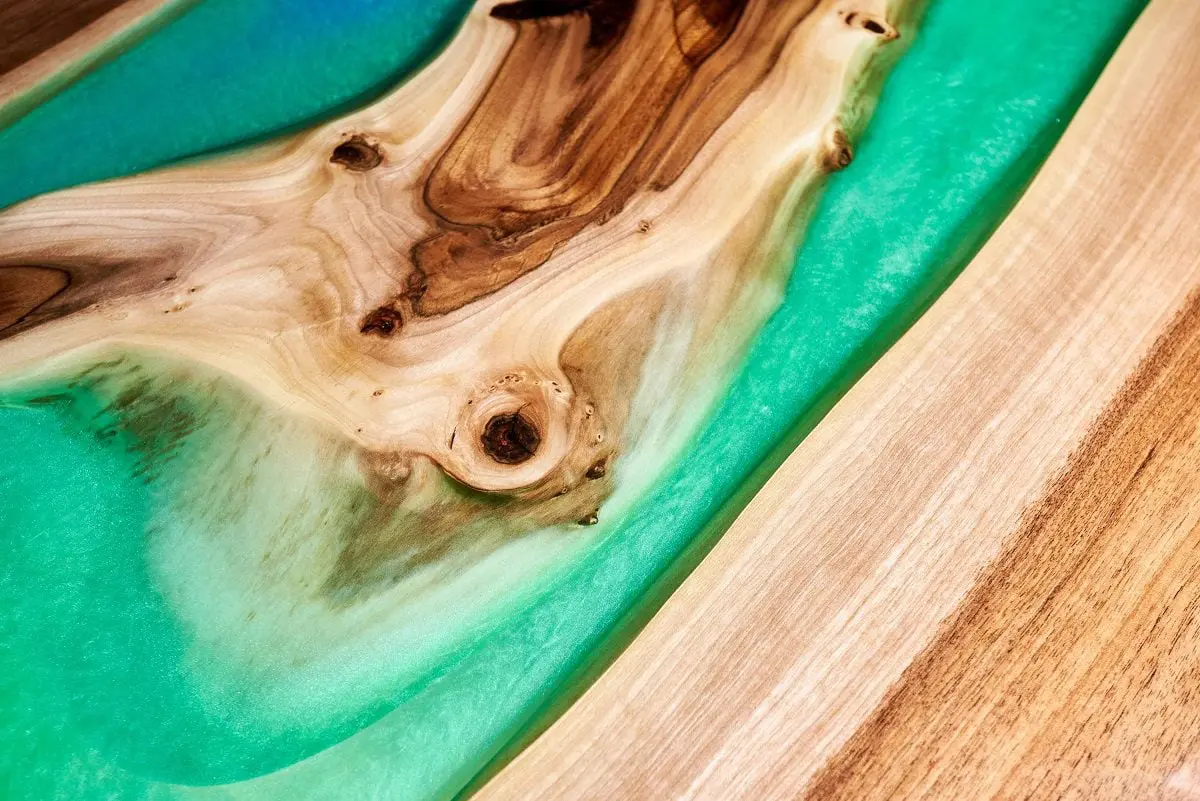
Epoxy resin has gained immense popularity among woodworkers and DIY enthusiasts due to its ability to create a durable and glossy finish on wooden surfaces.
This versatile material not only enhances the aesthetic appeal of wood but also provides a protective layer that extends its lifespan.
In this guide, we will explore the essential techniques for achieving a lasting finish with epoxy resin on wood.
1. Choosing the Right Epoxy Resin
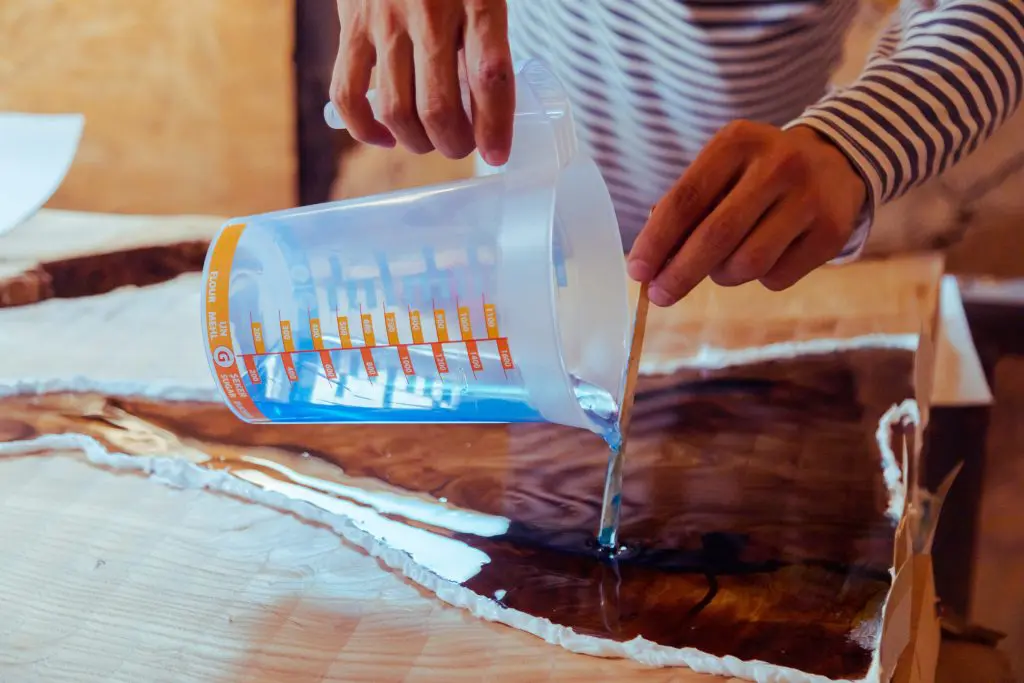
Selecting the appropriate epoxy resin is crucial for a successful project. Epoxy resins come in various formulations, each designed for specific applications. For wood finishing, it’s best to use a high-quality, clear epoxy resin that offers UV resistance and a long working time. UV resistance is important as it prevents yellowing and degradation when exposed to sunlight, ensuring the finish remains clear and vibrant over time.
2. Preparing the Wood Surface
Proper preparation of the wood surface is essential for a smooth and durable epoxy finish. Start by sanding the wood to remove any imperfections, dust, and previous finishes. Use progressively finer grits of sandpaper, finishing with 220-grit for a smooth surface. After sanding, clean the wood thoroughly with a tack cloth to remove any dust and debris.
3. Sealing the Wood
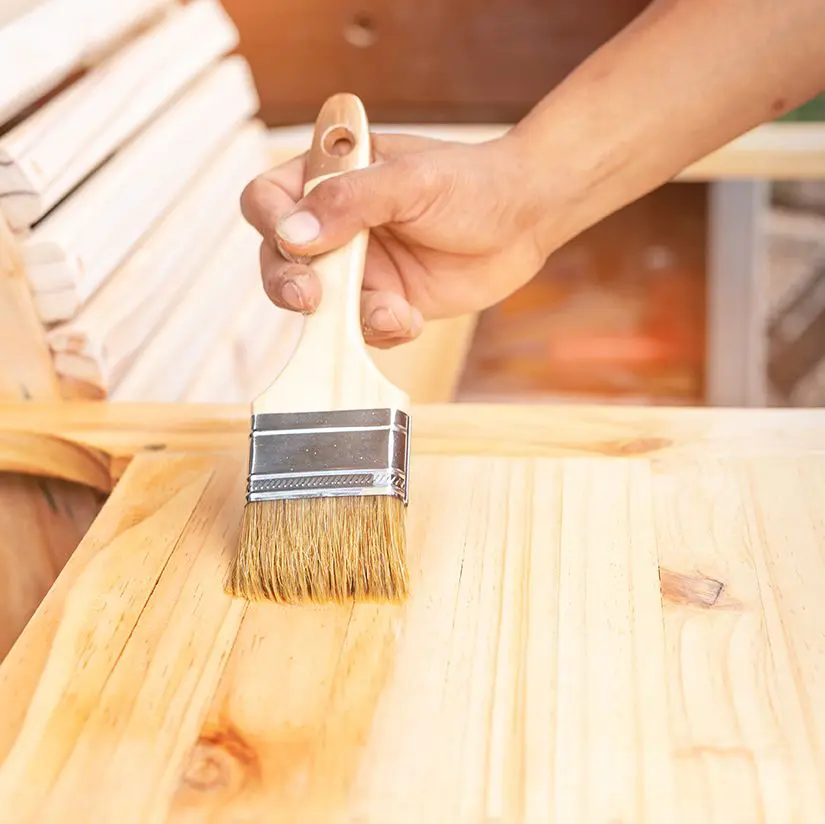
Wood is porous, and without sealing, it can absorb the epoxy resin unevenly, leading to bubbles and an inconsistent finish. Apply a thin layer of epoxy or a specific wood sealer to close the pores. This initial coat acts as a barrier, preventing air from escaping from the wood during the final epoxy pour. Allow the sealing coat to cure completely before proceeding to the next step.
4. Mixing the Epoxy Resin
Follow the manufacturer’s instructions carefully when mixing the epoxy resin and hardener. Accurate measurement is vital; an incorrect ratio can lead to improper curing. Mix the components thoroughly, scraping the sides and bottom of the mixing container to ensure a uniform blend. Be mindful of the working time and temperature conditions, as these can affect the curing process.
5. Pouring the Epoxy Resin
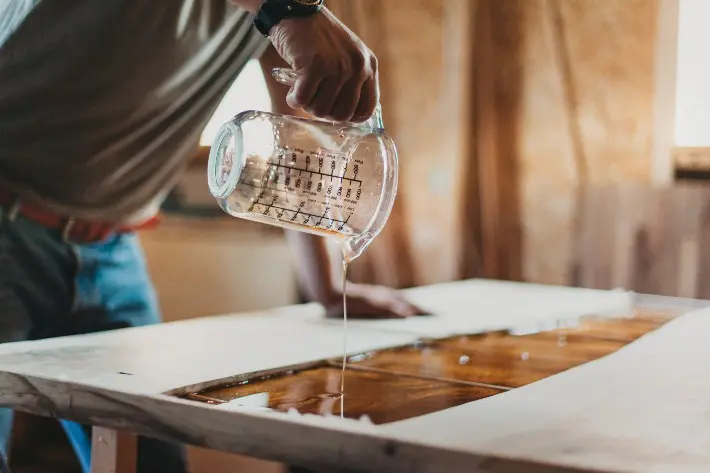
When pouring epoxy resin on wood, do so in a controlled and gradual manner. Start from the center and work your way outwards, allowing the resin to flow naturally and cover the entire surface. Use a plastic spreader or brush to help distribute the resin evenly. To achieve a thicker coat, pour multiple layers, allowing each layer to cure before applying the next.
6. Eliminating Bubbles
Bubbles can form in the epoxy resin during mixing and pouring. To eliminate them, use a heat gun or propane torch, moving it in a sweeping motion over the surface. The heat causes the bubbles to rise to the surface and pop. Be cautious not to overheat the resin, as this can cause it to scorch or cure too quickly.
7. Curing and Sanding Between Coats
Allow each layer of epoxy to cure fully as per the manufacturer’s recommendations. Once cured, lightly sand the surface with fine-grit sandpaper (320-400 grit) to remove any imperfections and create a key for the next coat. Clean the surface thoroughly before applying additional layers.
8. Finishing Touches
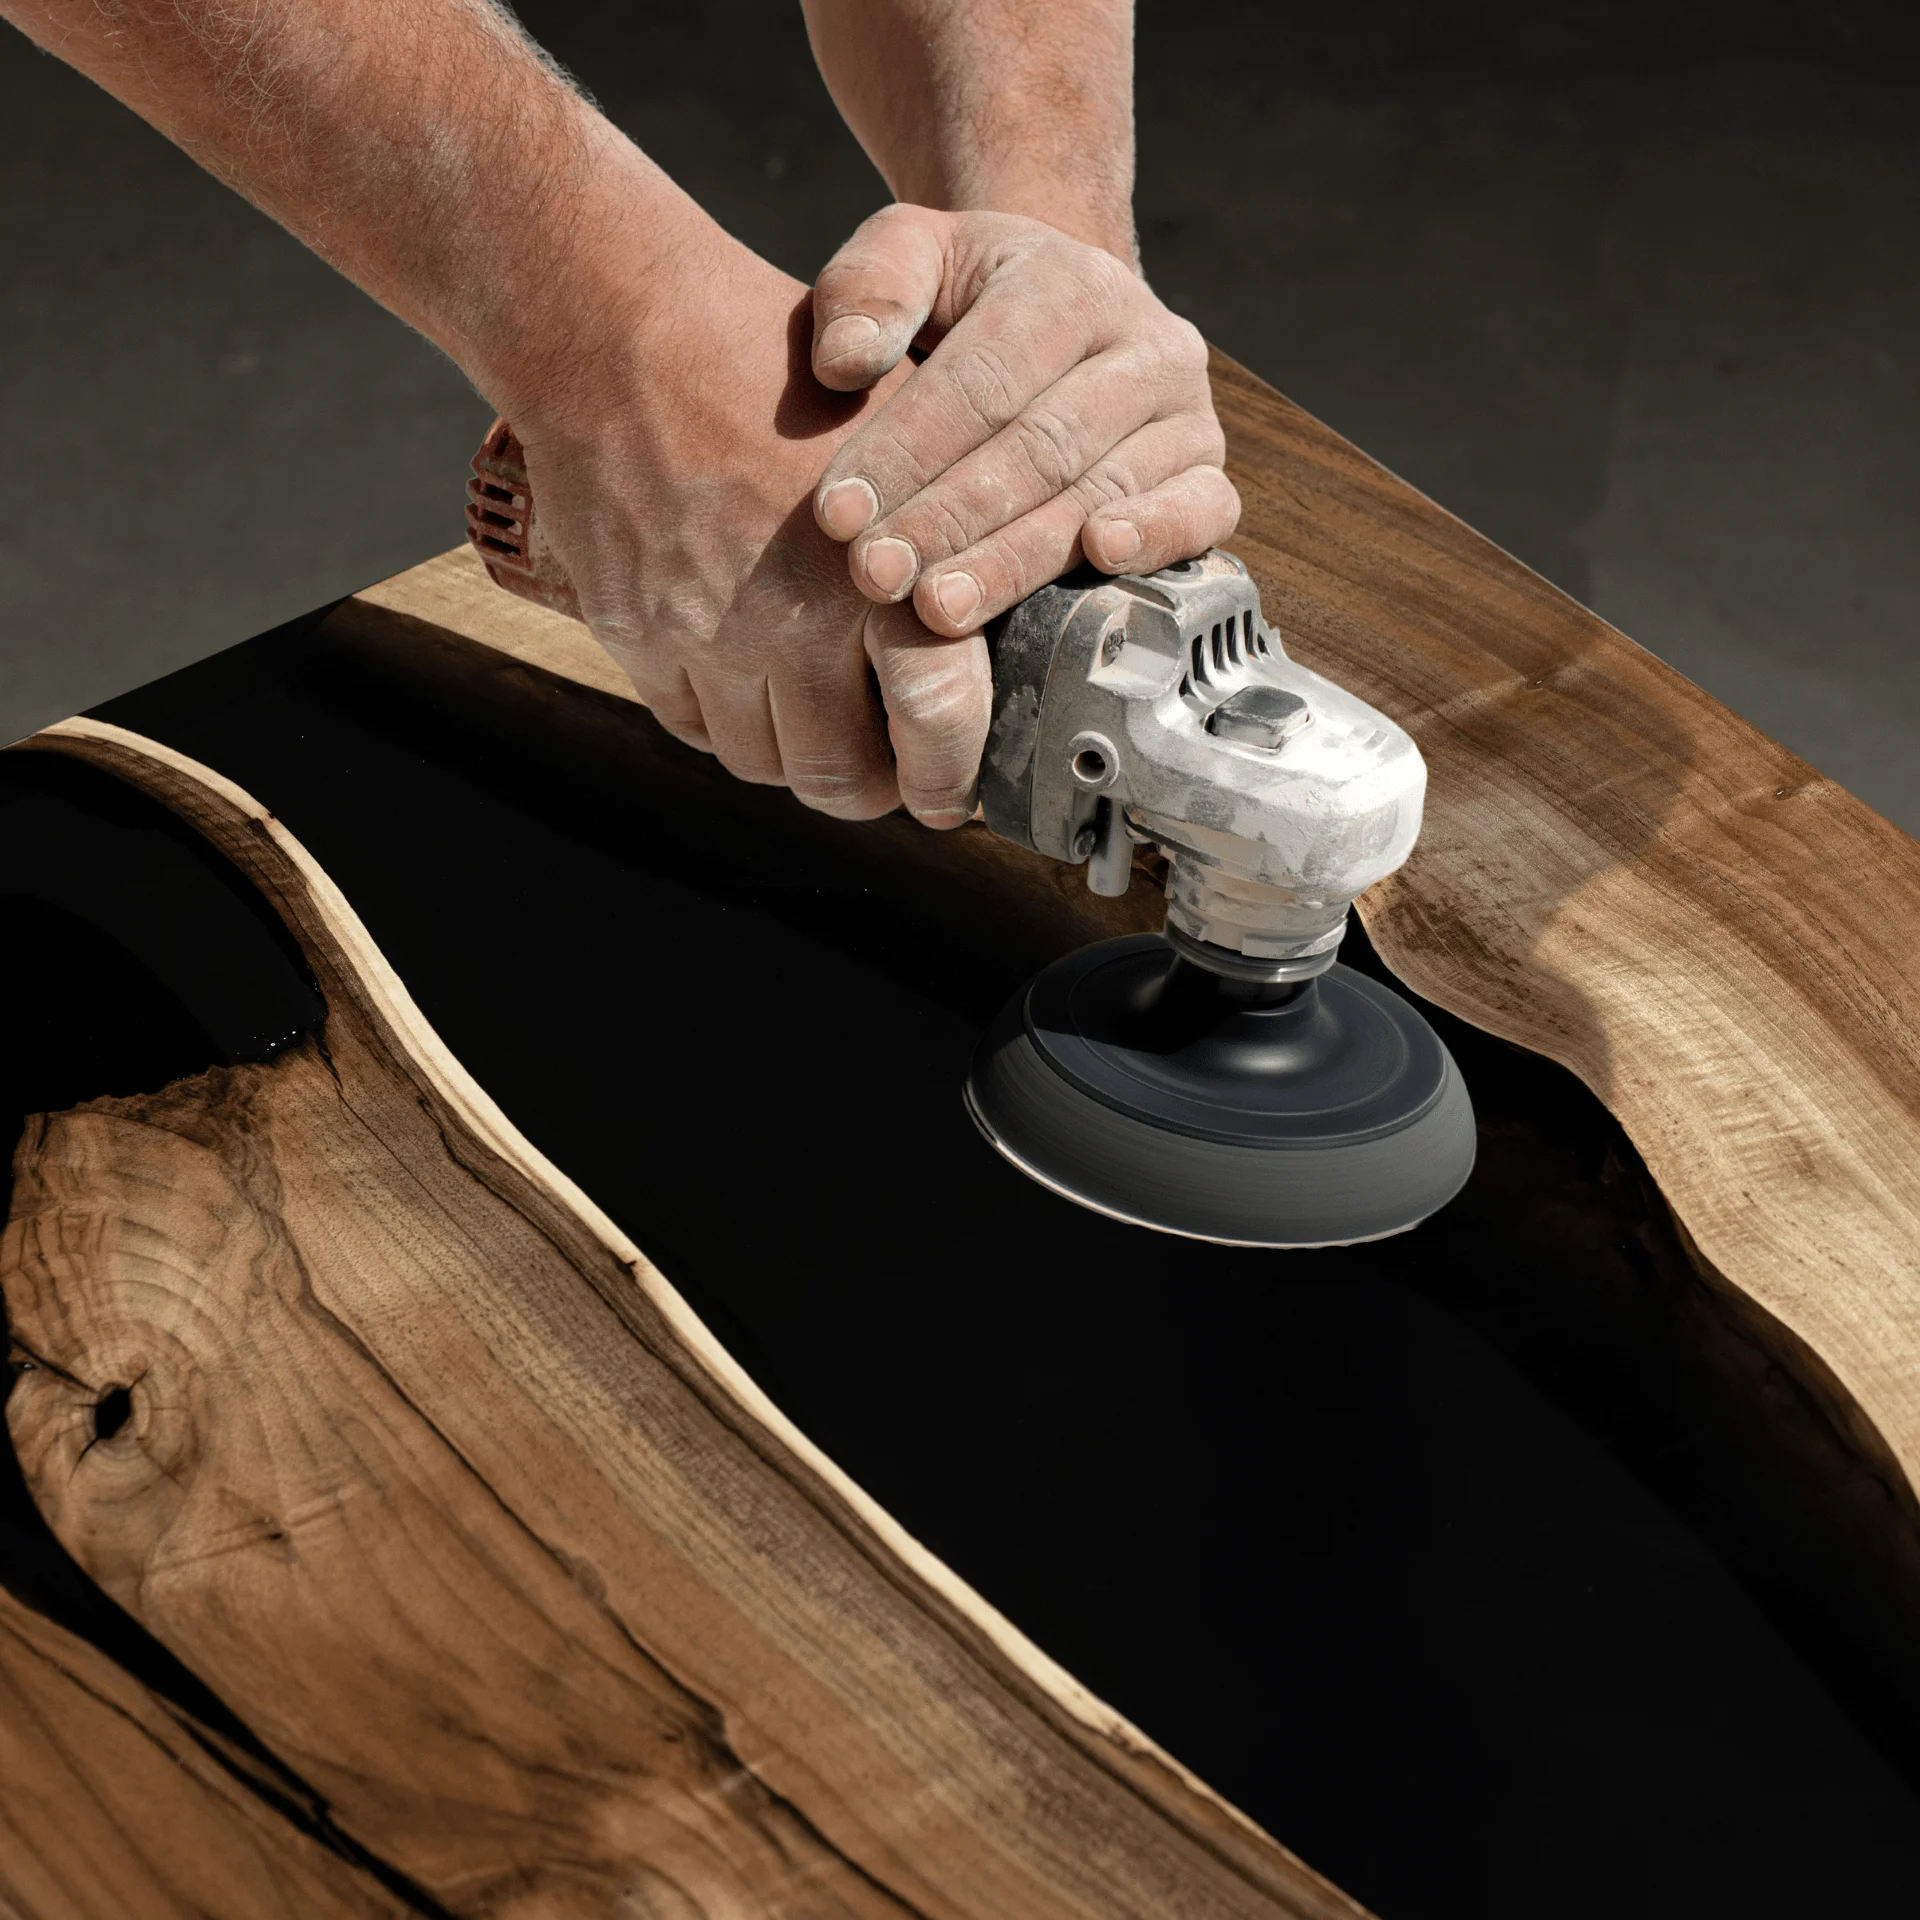
After applying the final coat of epoxy and allowing it to cure completely, sand the surface with progressively finer grits of sandpaper, finishing with a high-grit (1000-2000) for a polished look. For an ultra-glossy finish, consider using a polishing compound or buffing wheel.
9. Maintenance
To maintain the beauty and durability of your epoxy resin finish, avoid placing hot objects directly on the surface and use coasters to prevent scratches. Clean the surface with a mild detergent and soft cloth to keep it looking pristine.
By following these techniques, you can achieve a lasting and professional-quality finish on wood using epoxy resin. This versatile material not only protects the wood but also enhances its natural beauty, making your projects stand out.


