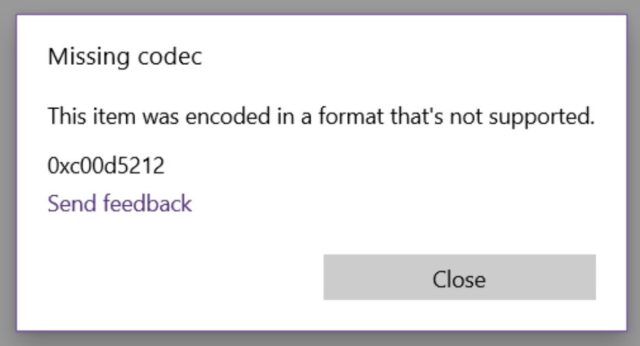
In this tutorial, we’ll show you how to fix missing codec: This item was encoded in a format that’s not support: missing codec 0xc00d5212
Let’s start by answering the question, ‘what does missing codec mean’?
This problem occurs if a codec that is required to play the file is not installed on the computer.
In a nutshell, your computer can’t play the video due to some missing component.
You may be able to hear the audio, though your screen will be blacked out.

First start by ensuring that Windows Media Player is enabled and recognized by your machine.
Search Windows Features from the search bar

Choose ‘turn Windows features on or off‘
Tick the box ‘windows media player‘ under Media features

This may solve the missing codec problem.
If not, try this solution.
With Windows Media Player open, select Organize > Layout > Show Menu bar

You should now see the Toolbar enabled

With Windows Media Player open, click Tools > Options
On the Player tab, choose
Download codecs automatically check box
If you don’t see this ‘download codecs’ as an option you will need to use alternate media player for your Windows 10 Device.

Most PC users know about VLC for Windows as it dates back to at least Windows 95 version, and now in use for Windows 10.
VLC is a free and open source cross-platform multimedia player and framework that plays most multimedia files as well as DVDs, Audio CDs, VCDs, and various streaming protocols.

And while VLC is an excellent choice, long trusted by Windows users, there are other media player options that may just as easily meet your needs.
Installing MCP-HC aka Media Classic Player – Home Cinema is the easy way to fix or at least bypass the error: ‘missing codec: This item was encoded in a format that’s not supported. error 0xc00d55212’
MPC-HC is an extremely light-weight, open source media player for Windows®. It supports all common video and audio file formats available for playback. We are 100% spyware free, there are no advertisements or toolbars.
Download for Windows 10: 64bit

Click the .exe file to run

Choose your language

Agree to Terms and Conditions

Choose a place to install (you can choose default or pick your own)

Customize installation.

Instruct the installer to customize start menu folder or skip option

Add desktop shortcut, install for yourself or all system users

Review chosen options, then click Install

After a few seconds, you will be presented with this screen to indicate successful installation.

You may want to read the wiki page associated

Choose yes or not to automatically check for updates. You can also click ‘Help’ in menu and select ‘check for updates’ every time you run the software.

Here is a screenshot of the software in action. Playback quality will be dependent upon your personalized settings.

Under File, you can choose to open or load a file from a variety of locations including DVD, Device, recent files.

Under View, you can choose various options to control your viewing experience including control customization, show playlist and some more tech oriented options you probably won’t use if you’re just casually watching.

The Play option for menu lets you play/pause/stop/repeat and adjust your audio track/volume to your preference.

Under Navigate you will find the title/root/subtitle/audio/angle and chapter menu.

For ease of access, you should learn the keyboard shortcuts to enact any specific command, such as Alt+T for title menu.
Now that you’re familiar with the menu system, you can customize your toolbar’s visual appearance.

mpc_toolbar_Glossy_by_longinus525 [16×16, 24×24, 32×32]

mpc_toolbar_Gem_by_Xyteton [32×32]
More free toolbar skins available


